
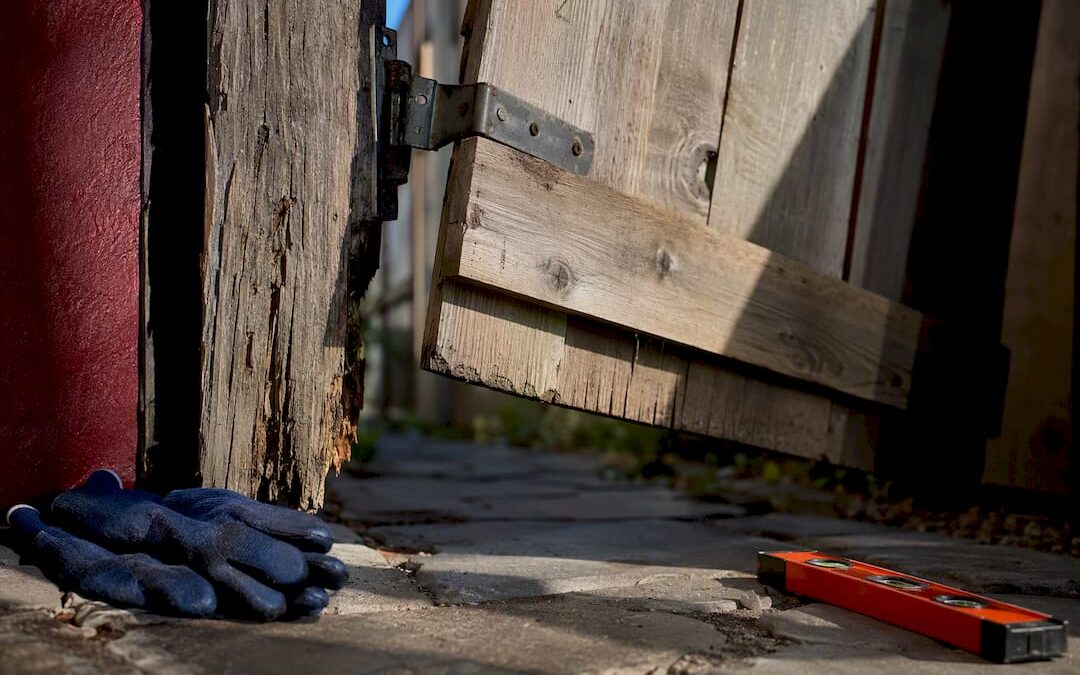
Most sagging wooden gates get fixed by replacing short, stripped hinge screws with 75 to 100mm stainless screws, or by fitting an anti-sag cable kit if the frame has racked out of square. If the post itself is loose or rotted at the base, though, hardware fixes won’t hold. Expect under two hours for a hinge or cable repair, and a longer time if you’re resetting a post.
TL;DR:
- Most sagging gates can be fixed by replacing short hinge screws with 75 to 100mm stainless steel screws or adding an anti-sag cable kit if the frame is racked.
- Before fixing hardware, homeowners should check for loose hinge screws, post rot, or frame racking to avoid wasting time and money on ineffective repairs.
- If the post is loose, rotted, or shows signs of soft wood or cracks, the problem stems from the post itself, which hardware fixes cannot solve.
- Proper repair involves supporting the gate, replacing hardware, filling stripped screw holes with hardwood dowels, and using cables or rods for framing issues up to about 9 feet diagonally.
- For recurring or severe issues, especially with rotted or cracked posts, professional intervention with a full post reset and proper footing is often the most durable solution.
Table of Contents
- What Causes Sagging Gate Repair Problems in the First Place?
- Step-by-Step Sagging Gate Repair: What to Fix First
- What Tools and Materials Do You Need?
- How Do You Stop a Gate From Sagging Again?
- What Modernfence Sees in the Field
- Why the “Just Add a Cable” Advice Oversimplifies Things
- When Should You Call a Professional for Gate Repair?
- Sources
What Causes Sagging Gate Repair Problems in the First Place?
Before you buy a single screw, spend five minutes diagnosing the actual problem. Fixing the wrong thing wastes money and leaves the gate sagging again within weeks.
- Check every hinge screw for looseness or stripping. Try tightening first. This is the single most common failure point on wooden gates.
- Grab the hinge-side post and push it side to side. Movement or soft, spongy wood at the base points to a post problem, not a hardware one.
- Step back and look at the gate’s shape. A frame that’s pulled into a parallelogram (racked) needs an anti-sag cable, not new hinges.
- Measure the gate’s diagonal, corner to corner. Most anti-sag kits are rated for gates up to roughly 9 feet on the diagonal, so this number decides which kit you can use.
Once you know whether you’re dealing with hardware, frame, or post, you know exactly which section below to follow.
Step-by-Step Sagging Gate Repair: What to Fix First
Work in this order. Skipping a step, especially the support step, is how a simple repair turns into a trip to the emergency room or a cracked gate frame.
- Support the gate. Slide a stack of timber blocks or a car jack under the latch corner to take the weight off the hinges before you remove a single screw. A gate swinging free while you work is how fingers get pinched and frames get twisted further out of shape.
- Replace short or stripped hinge screws. Original hardware often uses screws barely long enough to bite into the post. Swap them for 75 to 100mm stainless steel screws that anchor deep into solid timber instead of just gripping the surface layer. Longer screws distribute the gate’s weight across more wood fiber, which is why they outlast the factory hardware almost every time.
- Repair stripped screw holes. If the hole is already chewed out and won’t hold a screw at all, don’t just jam in a fatter screw. Fill the hole with a hardwood dowel coated in exterior wood glue, let it cure, cut it flush, then re-drill a fresh pilot hole slightly undersized for your new screw. This gives you solid, uncompromised wood to fasten into again.
- Fit an anti-sag cable and turnbuckle. For a racked frame, measure the diagonal from the bottom latch corner to the top hinge corner. Attach the upper bracket at the hinge corner, the lower bracket at the latch corner, thread the cable through, then tighten the turnbuckle gradually until the gate squares up. These kits work well on gates up to roughly 9 feet diagonal; anything larger, or a genuinely heavy gate, calls for a solid steel rod instead of cable.
- Replace hinges if they’re bent or undersized. Hinges should be rated for at least 1.5 times the gate’s actual weight. If you’re upgrading a heavy wood gate, step up to ball-bearing or weld-on hinges, and consider adding a third hinge in the middle of tall gates to spread the load.
- Test the post with a firm push. If it flexes, cracks at the soil line, or the wood feels soft when you press a screwdriver into it, no amount of hinge or cable work will fix the sag for good. That’s a post problem, and it needs a post solution.
Pro Tip: Tighten a turnbuckle in small increments, testing the gate’s swing between each turn. A sudden hard pull can split the timber or tear the hinge plate right out of the post, turning a 45-minute repair into a full rebuild.
What Tools and Materials Do You Need?
Buy everything before you start. Running to the hardware store mid-repair with the gate propped on a jack is how projects stall out for a week.
- Stainless steel screws, 75 to 100mm, 10 to 12 gauge depending on gate weight
- Anti-sag cable and turnbuckle kit, or a solid steel rod for heavier hardwood gates
- Hardwood dowel sized to match stripped screw holes, plus exterior PVA wood glue
- Cordless drill with a pilot bit sized just under your screw diameter
- Timber blocks or a car jack, a flush-cut saw, a tape measure, and a wrench for the turnbuckle
Anti-sag cable kits typically run $15 to $25 and take about 45 minutes to install on a standard timber gate, which is why most homeowners try this fix before considering full gate replacement.
How Do You Stop a Gate From Sagging Again?
A gate you fix once and never touch again will sag again eventually unless you know how to stop gutter sagging and protect your home from moisture damage influencing structures. A little seasonal attention keeps it square for years instead of months.
- Cap the top of every gate post. Exposed end grain soaks up rainwater like a straw, and that trapped moisture is the leading cause of the internal rot that eventually takes a post down.
- Check turnbuckle tension twice a year, especially after a stretch of heavy rain or a hard freeze thaw cycle, since humidity swings loosen cable tension gradually.
- Walk the gate’s hinges once a season and snug up any screw that’s started to back out. Catching it early takes two minutes with a drill.
- If you notice the gap under the gate widening or the bottom rail starting to scrape the ground, treat it as a signal to act now. Small sag gets worse fast once a hinge screw starts pulling loose.
Pro Tip: A gate that scrapes the ground on one side but swings freely on the other almost always means the post has shifted, not the hinges. Check the post before you spend money on new hardware.
What Modernfence Sees in the Field
Modernfence has repaired and replaced gates across Western Arkansas and Eastern Oklahoma for more than 70 years, and the pattern rarely changes. Homeowners call about a “broken hinge,” and the real culprit is a stripped screw hole or a post that’s quietly rotting below grade.
One recurring fix our crews use: a hardwood dowel packed with exterior glue in a stripped screw hole, followed by longer stainless screws, saves a gate that a homeowner had already priced out for full replacement. It’s a twenty-minute repair that adds years of service.
If you want a second opinion on post depth or whether your setup needs a full reset versus a repair, that’s exactly the kind of call our estimators field daily. For cost context before you decide which way to go, our gate repair cost breakdown covers what typical jobs run.
Why the “Just Add a Cable” Advice Oversimplifies Things
Most sagging gate advice online treats every gate like a hardware problem, and that’s where it falls short. A cable kit tightened onto a post that’s already rotting at the base doesn’t fix anything. It just hides a structural failure behind a straight looking gate for a few more months, then the whole thing fails at once, cable and post together.
The research backs a different order of operations than most guides suggest: test the post first, every time, before you spend a dollar on hinges or cable. It’s the cheapest step and the one homeowners skip because it feels like extra work when the gate already looks like a quick hinge fix.
My honest read is that DIY hardware repairs deserve more credit than they get. A dowel, glue, and the right length screw genuinely fix the majority of sagging gates, and there’s no reason to jump straight to replacement. But that confidence only holds if the post underneath is sound. Push it before you touch a single screw.
— mark
When Should You Call a Professional for Gate Repair?
Some sagging gates are a Saturday project. Others are a sign the whole assembly needs professional attention, and pushing forward with more hardware just delays the inevitable. If the post footing has rotted below the soil line, if the post itself is split through more than a surface crack, or if you’ve already tried hinge screws and a cable kit and the gate keeps sagging within weeks, it’s time to bring in a crew. Heavy hardwood gates that flex the frame under their own weight fall into this category too.
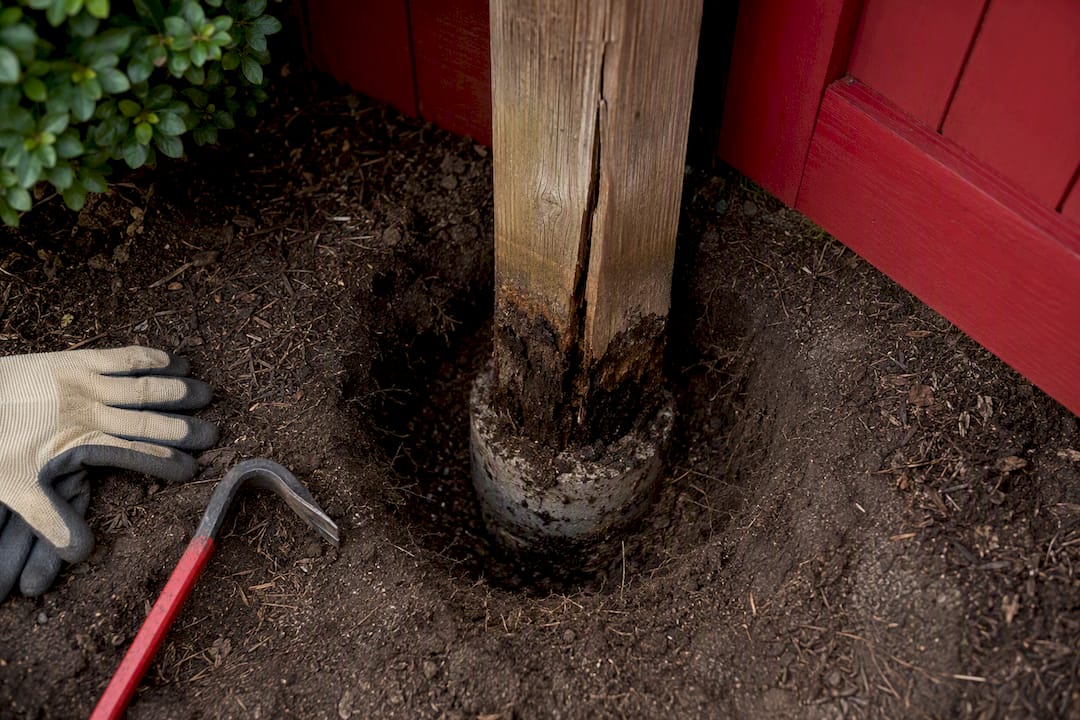
A professional visit from Modernfence typically includes an on-site inspection, a straightforward cost estimate, and, if needed, a full post reset with a proper concrete footing set below the frost and seasonal movement line. Most repair visits wrap up in a single day, and post resets are usually done within a week of approval. Where DIY fixes buy you a repair that might last a season, a reset footing is built to outlast it. If your gate keeps failing after two or three attempts at a fix, that recurring cost adds up faster than one professional visit would. Compare your options and request a project estimate to see what a lasting fix actually costs for your specific gate and post situation.
Sources
- How to Fix a Sagging Gate — Dunn Lumber
- How to repair a sagging fence gate — This Old House
- Repair guidance including dowel fixes — Madison Iron and Wood
- How to protect fence posts from rotting — Atlanta Post Caps