
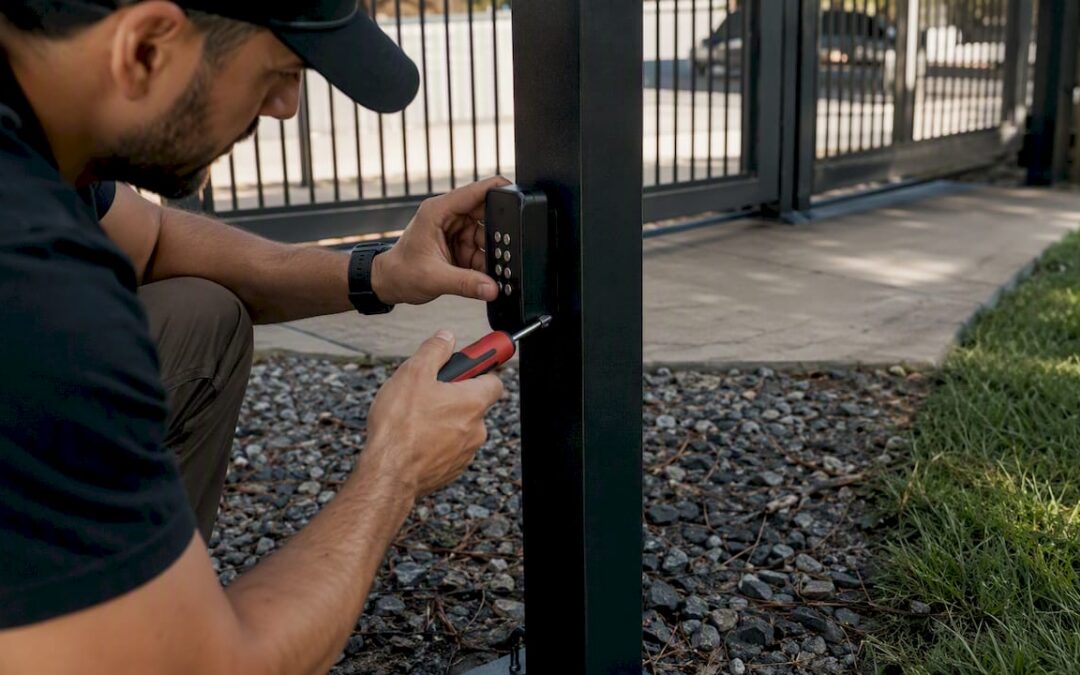
Mount your gate keypad at a safe distance from any moving part of the gate, at a height typically between 42 and 48 inches, and in a spot where the driver can see the entire gate while it swings or slides. That clearance isn’t a suggestion. It’s the baseline set by ANSI/CAN/UL 325, the safety standard that governs automated vehicular gates in the US.
Two rules drive every decision after that:
- 6-foot minimum clearance from all moving gate parts, with no way for a person to reach the gate while operating the keypad.
- Full line-of-sight to the gate itself, so the user watches it move instead of trusting it blindly.
Skip either one, and you’ve built a liability, not a convenience.
Key Takeaways
Correct gate keypad placement combines a 6-foot safety clearance, full line-of-sight to the moving gate, and a pedestal height matched to the vehicles using it.
| Point | Details |
|---|---|
| Meet the 6-foot rule | Mount keypads at least 6 feet from all moving gate parts, measured from the widest point of travel. |
| Confirm line-of-sight | Test visibility from a seated driver’s position across the gate’s full range of motion. |
| Match pedestal height to vehicles | Use 42 inches for cars, 48 inches for trucks and SUVs, or a dual-height pedestal for mixed fleets. |
| Test wireless before sealing | Pair and test signal at the final mount location, since metal and enclosures cut real-world range. |
| Hire experienced installers | Modernfence brings 70+ years of access control and fence installation experience across Western Arkansas and Eastern Oklahoma. |
Table of Contents
- Gate Keypad Placement Guidelines You Shouldn’t Skip
- Choosing the Right Pedestal or Mount
- Wired vs. Wireless: Power and Range Realities
- Security Features and Code Compliance for Outdoor Controls
- Step-by-Step Installation Checklist
- Fixing Range, Visibility, and Durability Problems
- What 70+ Years of Fence Work Teaches About Keypad Placement
- What Most Gate Keypad Advice Gets Backwards
- Get Your Gate Keypad Installed Right the First Time
- Sources
Gate Keypad Placement Guidelines You Shouldn’t Skip
A key safety concern is preventing anyone from reaching through a gate to activate controls and risk injury. UL 325 treats that scenario as preventable, and placement is the fix. Measure from the closest point the gate occupies during its full arc or slide, considering that different gate types require varying setbacks to maintain safety.
Line-of-sight sounds simple until you’re standing at a curved driveway with a hedge in the way. DASMA’s technical guidance is specific: the user needs a full, unobstructed view of the gate throughout its travel, and any Stop or Reset button has to sit where that same view holds. Walk the actual approach before you commit to a spot. Stand where a driver’s seat would put someone’s eyes and confirm you can track the gate from open to closed.
- Locate the gate’s full range of motion, including swing arcs.
- Add 6 feet of clearance from the nearest point that range ever reaches.
- Confirm sightlines from a seated driver’s eye level, not standing height.
- Set pedestal height for the vehicles that will actually use it.
Standard pedestal heights are chosen to suit vehicle types, typically around 42 inches for cars and higher for larger vehicles. Mixed fleets benefit from dual-height pedestals.
As for mounting a keypad directly on the gate itself: don’t. That’s the single most common mistake homeowners make, and it defeats the entire purpose of the clearance rule.
Pro Tip: If your driveway curves or slopes, test sightlines at the time of day with the worst glare. A spot that looks fine at 10 a.m. can be unreadable at sunset.
Choosing the Right Pedestal or Mount
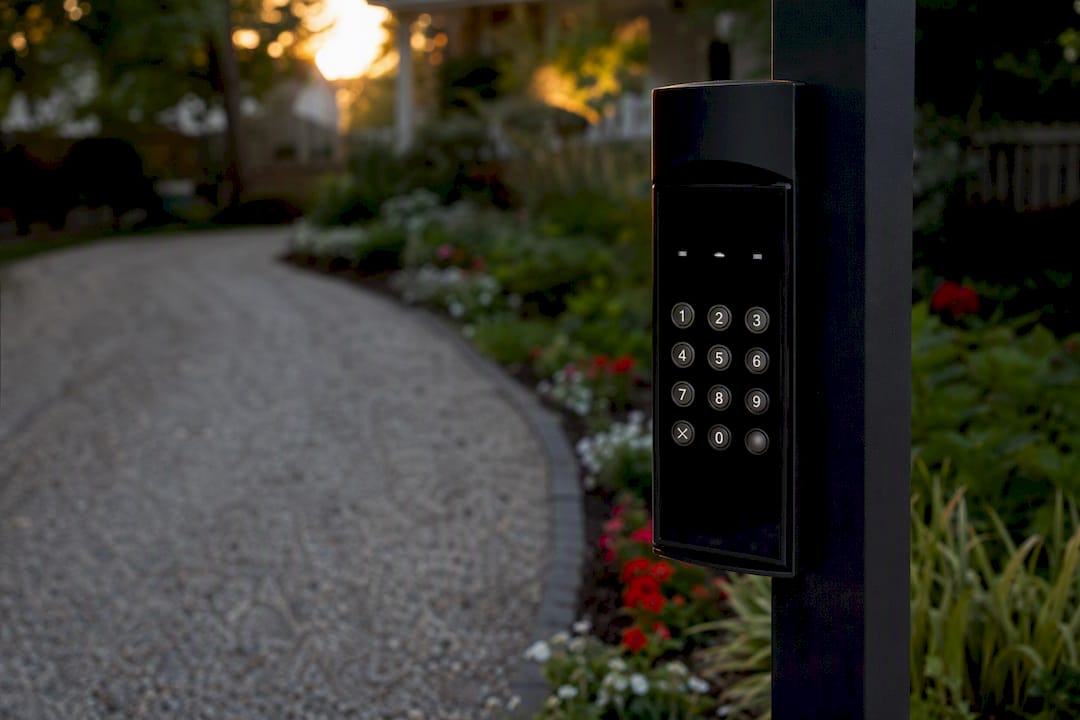
Pedestal choice depends on whether you’re retrofitting an existing driveway or building from scratch. Pad-mounted pedestals bolt to a poured concrete pad and work well for retrofits, since they avoid trenching through finished pavement. Direct-bury (in-ground) pedestals get set in concrete below grade, hiding the wiring entirely and giving a cleaner look, which makes them the better call for new construction.
- Pad-mounted: faster install on existing concrete, wiring runs through conduit above or alongside the pad.
- Direct-bury: conceals wiring completely, adds stability, best planned before paving goes in.
- Gooseneck or curb-mount: curves the keypad toward the driver, common where a curb sits close to the travel lane.
- Dual-height pedestals: serve mixed vehicle fleets without forcing a compromise height, though anchor depth and conduit runs differ between pad and direct-bury versions.
Gooseneck and pedestal manufacturers publish standard heights of 36, 42, 48, and 66 inches to match different curb and pad configurations. Whatever you choose, look for a locking faceplate, tamper-resistant screws, and powder-coated finishes if the pedestal sits in direct weather. A keypad that rusts shut in two years costs more than one installed correctly the first time.
Wired vs. Wireless: Power and Range Realities
Wired keypads win on reliability. No batteries to replace, no signal drops, and once the conduit is buried, maintenance is close to zero. Best practice keeps low-voltage keypad wiring in its own conduit, separated from any high-voltage lines, and buried per your local electrical code depth requirement.
Wireless keypads trade that reliability for flexibility, and the tradeoff is bigger than most marketing pages admit. Rated ranges assume open space with nothing in the way. Metal fencing, motor enclosures, and even a stucco wall can cut real-world range well below the number on the box, according to installer field reports. Some units hold steady at 100 to 200 feet in open conditions but drop off fast once obstacles enter the picture, per driveway access guides.
- Test the wireless unit at its actual final mounting spot before sealing anything.
- Have a fallback plan ready, like relocating the receiver or adding an external antenna, if the signal fails.
- Confirm battery access won’t require removing the whole faceplate for a simple swap.
- Choose units with encrypted rolling codes over static ones when security matters.
Pro Tip: Never seal a pedestal base or finalize a wireless install until you’ve tested it from where a driver actually sits, not from where you’re standing with the remote.
Security Features and Code Compliance for Outdoor Controls
UL 325 applies specifically to permanently mounted, user-activated controls, and the 6-foot reach-through rule is non-negotiable for anything a driver operates from outside the gate. Emergency-only devices, like fire department Knox boxes, are a separate category with their own placement logic, and they still need coordination with your local fire authority rather than a guess.
- Change default access codes immediately after installation.
- Limit master-code access to one or two trusted people.
- Use lockable, tamper-resistant faceplates on any pedestal near a public road.
- Choose encrypted wireless protocols where the manufacturer offers them.
Industry safety commentary on UL-325 compliance puts it plainly: the entire point of the standard is making reach-through physically impossible, not just unlikely. That’s the bar every placement decision has to clear.
Step-by-Step Installation Checklist
- Survey the site. Mark the gate’s full range of motion, vehicle approach paths, and any pedestrian routes nearby.
- Measure and plan. Confirm the 6-foot clearance, pick pedestal height, and decide on wired conduit routing or wireless placement.
- Mount the pedestal. Anchor it to the pad or set it in-ground, then run conduit or cable before backfilling.
- Install the keypad. Attach it to the mounting plate, seal every cable entry point against moisture, and secure the faceplate.
- Test everything. Check range from the driver’s seat, confirm continuous-pressure and reset functions, and verify weatherproofing before you call it done.
- Document the install. Note the pedestal height, wiring path, and access codes somewhere the property owner can find them later.
Rushing step 5 is how sites end up with a keypad that works in the driveway but drops signal the moment someone’s actually sitting in a truck cab.
Fixing Range, Visibility, and Durability Problems
Most placement complaints trace back to skipped testing. Pair the keypad and test from the exact mounting height, then check it again from a seated driving position and from a pedestrian’s eye level near the gate.
- If range is weak, try moving the keypad 10 to 30 feet, or reposition the receiver closer to the driveway.
- An external antenna or a repeater can rescue a marginal wireless signal instead of forcing a full rewire.
- If wireless keeps failing, switching to a wired unit solves the problem permanently.
- Confirm no control lets the gate operate when its full arc isn’t visible to the user.
- Check enclosures for condensation, sun-brittled plastic, and corroding fasteners each season.
What 70+ Years of Fence Work Teaches About Keypad Placement
Modern Fence Company has installed and serviced access control across Western Arkansas and Eastern Oklahoma for more than 70 years, working residential driveways and commercial entry points alike.
One recurring pattern our installers see: homeowners want the keypad close to the house for convenience, but the site’s actual sightline puts that spot behind a fence post or a curve in the drive. Choosing the pedestal location based on the gate’s visibility, not the shortest wire run, is what actually prevents callbacks.
On a commercial site with mixed truck and car traffic, our crews often land on a dual-height pedestal rather than compromising at one height that frustrates half the drivers who use it.
What Most Gate Keypad Advice Gets Backwards
Most guides treat gate keypad placement as a code-compliance checkbox. Measure 6 feet, confirm line-of-sight, done. That’s the floor, not the whole job.
The bigger failure I see is people optimizing for wire length instead of actual site geometry. A keypad mounted at the “convenient” spot near the house often sacrifices line-of-sight the moment the driveway curves or a fence post lines up wrong. The clearance rule protects against reach-through; it says nothing about whether a driver can actually watch the gate from that pedestal. Both matter, and only one of them is codified.
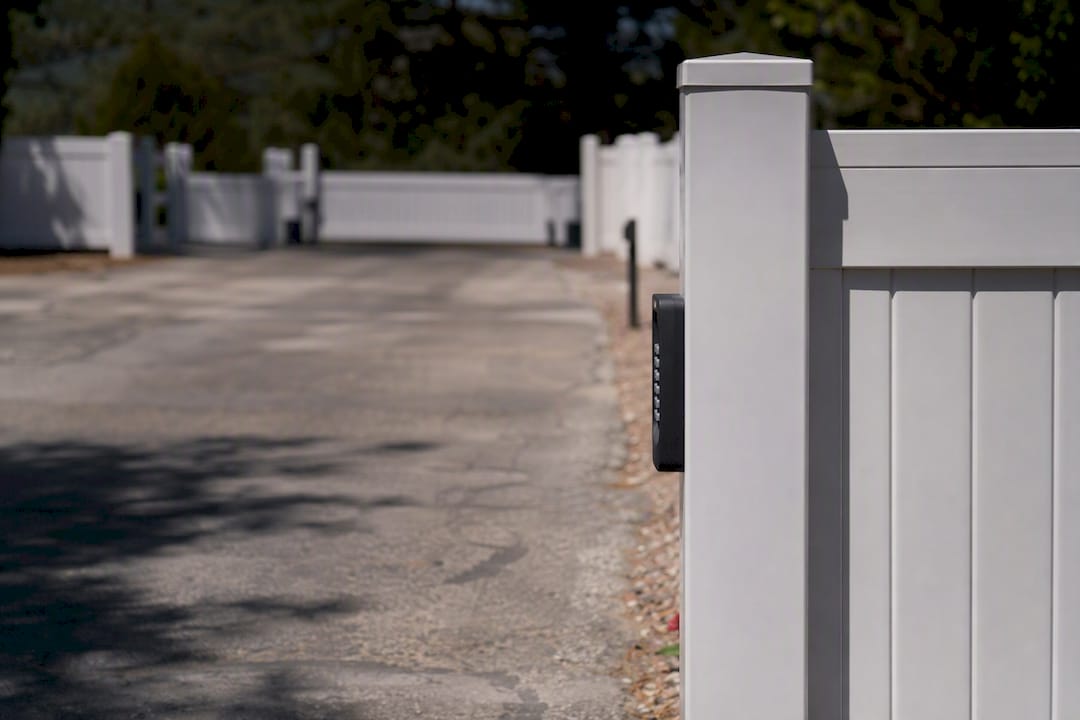
I’d also push back on treating wireless range specs as reliable. Manufacturers test in open fields. Your driveway has a metal fence, a motor enclosure, and probably a masonry wall between the keypad and the receiver. Test on-site before you seal anything, every time, no exceptions.
If you take one thing from this: walk the driveway like a driver would, not like an installer measuring tape in hand. The spot that looks right on paper often isn’t the spot that works from the driver’s seat.
— mark
Get Your Gate Keypad Installed Right the First Time
Getting the pedestal height, wiring route, and sightline correct on a first attempt takes more than a tape measure; exploring automatic fence gates from Easton Fencing North Texas can help understand different gate automation mounting strategies. It takes someone who’s placed hundreds of these across driveways with the same curves, hedges, and mixed vehicle traffic you’re dealing with. Modernfence has handled access control installation across Western Arkansas and Eastern Oklahoma for over 70 years, and we know how a 6-foot clearance rule plays out differently on a swing gate versus a slider.
Whether you’re adding a keypad to a new gate or fixing a placement that’s never worked reliably, our team handles the survey, the pedestal selection, and the wiring so the install passes code the first time. Browse our access control services or request a free estimate to get a site visit scheduled.
Sources
- The UL 325 – Engineering Express
- Where to Place Gate Operator Controls | DASMA
- Gooseneck keypad and reader pedestals | Strong Poles