
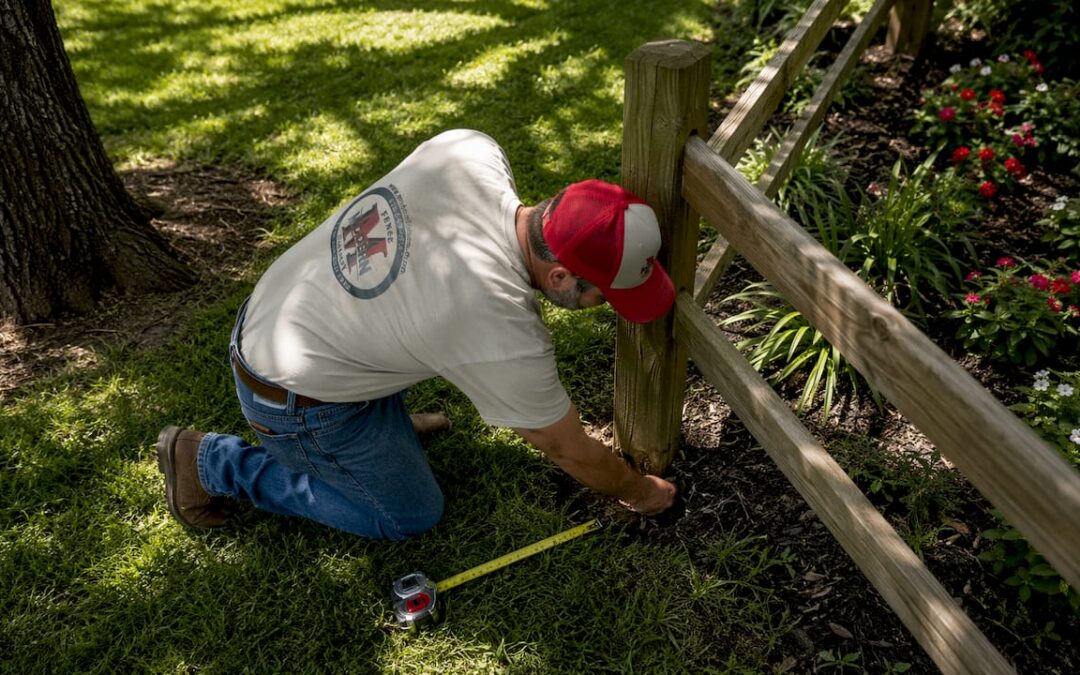
If less than 20–25% of your fence shows structural damage and the repair cost is under half the price of a new installation, repair is almost always the right call. When either threshold is crossed, replacement saves you money over time. Two rules decide most cases:
- The 25% rule: If more than 20–25% of your fence shows heavy structural damage, plan for replacement rather than patching.
- The 50% cost rule: If your repair estimate approaches 50% of replacement cost, a new fence is the better financial decision.
- Immediate triage checklist:
- Push each post firmly. Does it rock or shift? That’s a structural red flag.
- Count damaged sections as a percentage of the total fence run.
- Get one repair quote and one replacement quote before committing.
- Check your fence’s age against typical material lifespans (wood: generally about one to two decades; vinyl/composite: often lasts longer).
- If the fence is near or past its expected lifespan, lean toward replacement even for moderate damage.
Table of Contents
- How to use a simple decision matrix before calling a contractor
- How to inspect your fence posts, rails, and gates step by step
- Warning signs by material and whether repair usually works
- Typical costs, lifespans, and what insurance and permits mean for your decision
- Realistic scenarios where repair makes financial sense
- When replacement is the right call and what your options are
- How to get a professional estimate and what to ask
- Practical next steps: when to DIY and when to call a pro
- Key Takeaways
- A perspective on what the repair-or-replace decision really comes down to
- Modernfence: professional estimates for repair and replacement in Western Arkansas and Eastern Oklahoma
- Useful sources for deeper research
How to use a simple decision matrix before calling a contractor
The math behind the fence repair or replace decision is straightforward once you have two numbers: the repair estimate and the replacement cost for the same run.
| Scenario | Repair cost | Est. replacement cost | Recommended action |
|---|---|---|---|
| 3 damaged boards, posts solid | Repair cost is significantly lower than replacement cost | Repair now | |
| 2 rotted posts + boards | Repair cost is moderate compared to replacement | Repair and monitor | |
| 4 rotted posts, leaning sections | Repair cost is nearing replacement cost | Phased replacement | |
| Multiple sections failing, old wood fence | Repair cost exceeds half of replacement cost | Full replacement | |
| Storm damage, 1 section, new fence | Repair cost much lower than replacement cost | Repair, file insurance claim |
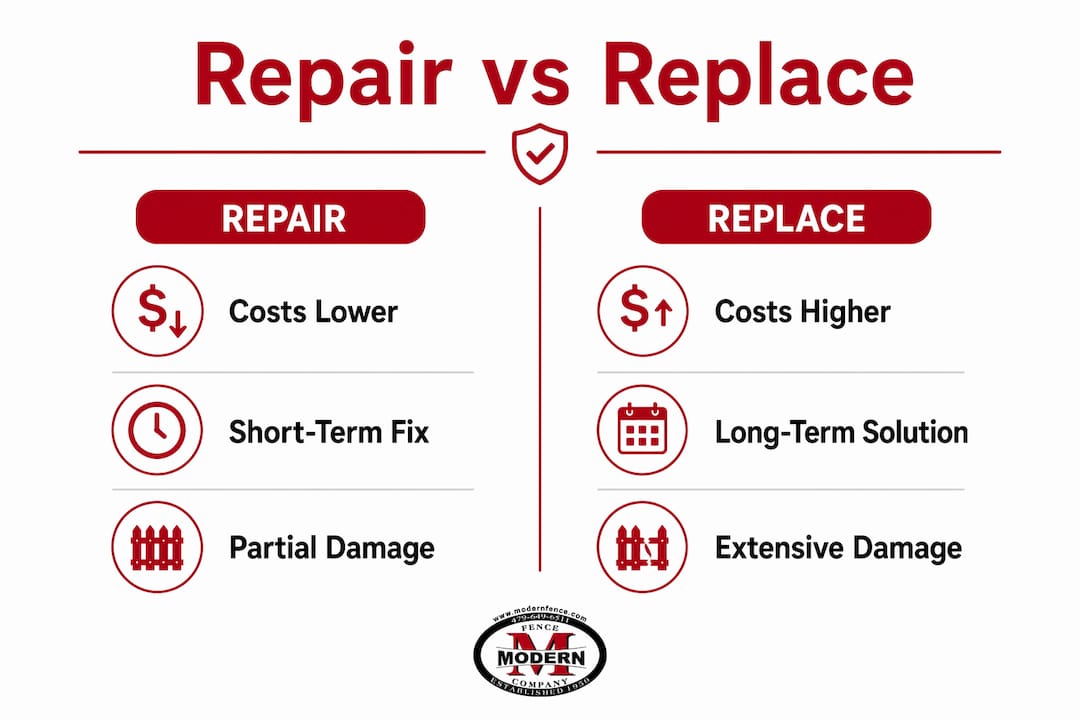
Below 50% repair-to-replacement ratio: Repair confidently. At or above 50%: replacement is usually the better investment. The borderline cases are where phased replacement earns its place. Replace the highest-risk or most visible sections first and schedule the remainder within 6–12 months to avoid repeated service minimums.
How to inspect your fence posts, rails, and gates step by step
Post and footing condition tells you more about your fence’s true health than the pickets ever will. Most structural failure starts underground, where moisture and soil contact rot wood or loosen concrete collars long before the surface shows obvious damage.
- Walk the full fence line from one end to the other. Note every section that leans, sags, or has visible damage. Count them as a percentage of total sections.
- Push test each post. Place both hands on the post and push firmly side to side. Any rocking or shifting means the footing is compromised.
- Probe posts at the ground line. Use a screwdriver or awl at the soil surface. If the tip sinks more than half an inch into the wood without resistance, rot is present. This is the single most reliable indicator of structural failure.
- Check the concrete collar. Look for a gap between the post and the concrete. A visible gap means water is pooling there and accelerating decay.
- Sight down each fence section. Stand at one end and look along the run. Bowing, leaning, or uneven panel heights signal rail or post problems.
- Test gate function. Open and close every gate. A gate that drags, won’t latch, or swings open on its own usually has a failing post or worn hardware. Check the gap between the gate and frame on all four sides.
- Document everything. Photograph rot close-ups, post gaps, leaning angles, and gate misalignment. These photos speed up contractor estimates and insurance claims.
Pro Tip: The most common hidden failure is at the post base, not the pickets. A fence can look fine from the street while every post is rotting at grade. Always probe before you patch.
Safety note: if a section is leaning significantly, don’t walk close to the unstable side. Brace a failing gate temporarily with a 2×4 wedged under the latch side until repairs are scheduled.
Warning signs by material and whether repair usually works
Different materials fail in different ways. Knowing what to look for by material helps you decide quickly whether a fix will hold or whether you’re just delaying the inevitable.
Wood fencing
- Soft, spongy wood at the post base or rail ends signals rot at grade. If more than one post is affected, replacement is likely more practical than individual post swaps.
- Insect tunnels or sawdust trails indicate termite or carpenter ant activity. Eliminate the colony first, then assess. Widespread insect damage usually means replacement.
- Split or warped rails across multiple sections point to systemic moisture exposure, not isolated damage.
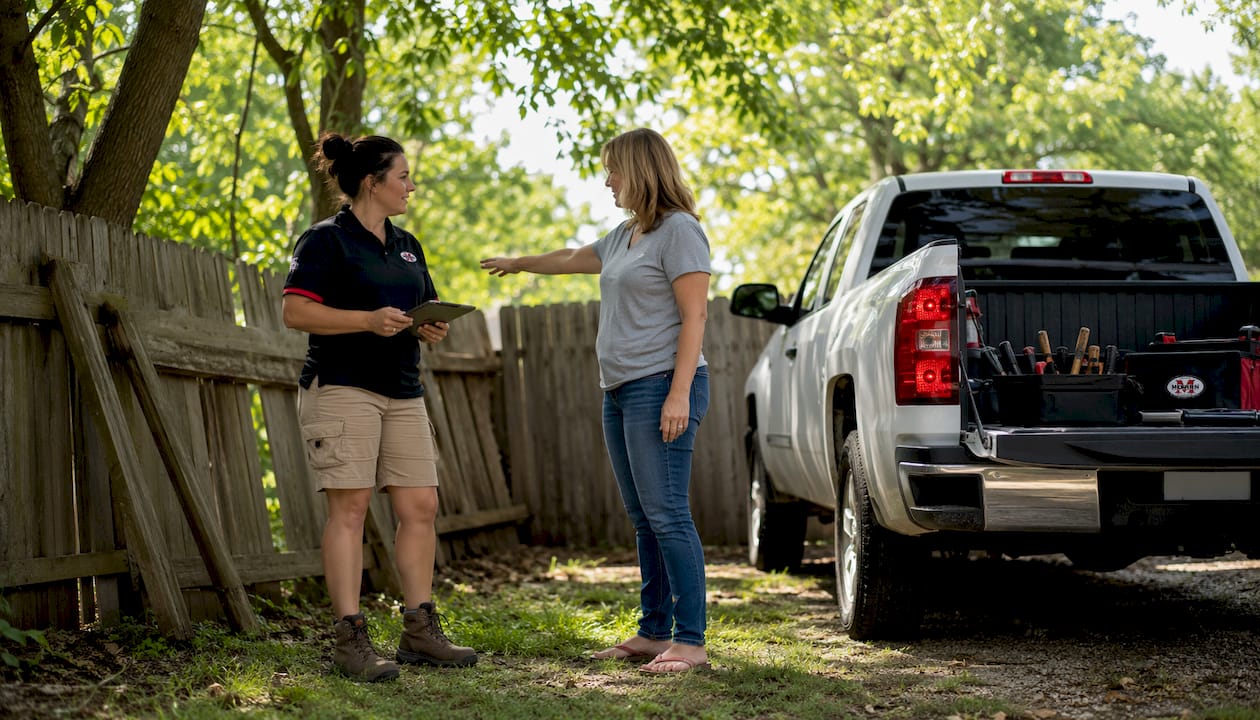
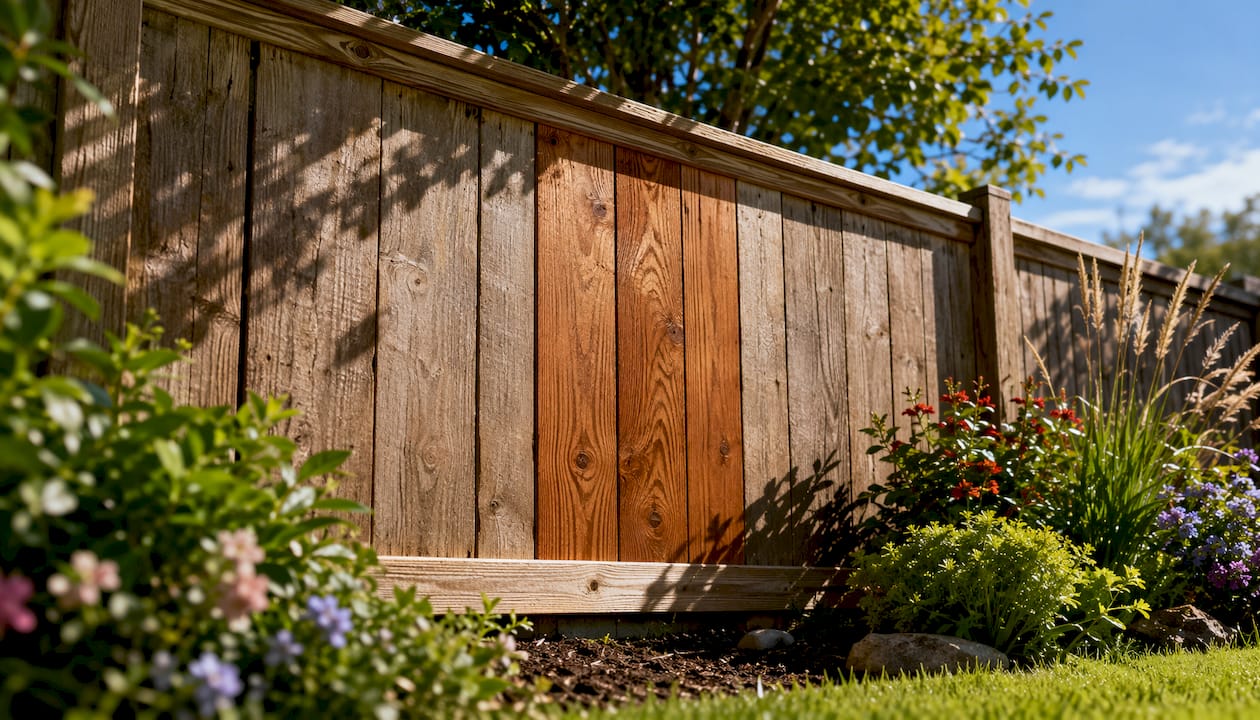
- Isolated cracked or broken pickets are repairable. Patching new boards next to weathered ones creates a visible color mismatch; plan a full stain after repairs to blend the run.
Vinyl fencing
- Small hairline cracks can be patched with vinyl repair adhesive, but the repair is visible.
- UV brittleness in older vinyl (especially in climates with temperature swings) means cracking will recur. If the profile is discontinued, matching panels may be impossible.
- Individual panel replacement is usually cleaner than patching. If cracking appears across multiple panels, full replacement is the better call.
Aluminum, steel, and iron fencing
- Surface rust that hasn’t penetrated the metal can be sanded, primed, and repainted. Rust that has eaten through the rail or post wall requires section replacement.
- Bent rails can sometimes be straightened, but weld failures at post connections are a replacement indicator.
- Gate sag from worn hinges is a simple repair. Gate posts that have shifted in their footings are not.
Chain-link fencing
- Bent top rails, loose tension bands, and minor fabric damage are all repairable in most cases.
- Post movement or widespread rust throughout the fabric usually means the system has reached end of life.
- Chain-link becomes a replacement candidate when the homeowner also wants more privacy or a different appearance.
Composite fencing
- Cracked or broken panels can typically be replaced at the panel level without disturbing the rest of the fence. Color matching is more consistent than with wood because composite colors don’t shift as dramatically over time.
- Structural failure from improper installation (posts set too shallow) requires post replacement, not just panel swaps.
Typical costs, lifespans, and what insurance and permits mean for your decision
Running the 50% test requires real numbers. Here are typical installed replacement costs and expected lifespans by material, alongside common repair cost ranges.
| Material | Installed replacement cost (per linear foot) | Expected lifespan | Common repair cost range |
|---|---|---|---|
| Wood (cedar, 6 ft privacy) | $25–$55 | 15–20 years | $100–$500 per section |
| Vinyl | $30–$50 | 25–30 years | $75–$300 per panel |
| Aluminum / iron | $30–$50 | 30–50 years | $100–$400 per section |
| Chain-link | $15–$40 | 20–30 years | $75–$250 per section |
| Composite | $50–$70 | 25–30 years | $150–$400 per panel |
Typical repair costs for common fixes: board replacement runs $100–$350 per section installed; post extraction and replacement costs roughly $200–$500 per post including concrete; gate repairs typically run $75–$250; straightening a leaning section costs $150–$400.
Insurance: Homeowners insurance may cover fence damage caused by a covered peril such as a falling tree, windstorm, or vehicle impact. Rot, insect damage, and general wear-and-tear are excluded. Insurers typically classify fences as “other structures,” which are often covered at a percentage of your dwelling coverage. Depreciation reduces payouts on older fences, so a 15-year-old wood fence may yield a modest check even after a storm.
Permits: Minor repairs (replacing boards, fixing a gate hinge) rarely require a permit. Full fence replacement is usually treated as new construction and may require a local building permit. HOA rules can also dictate material, height, and color. Check both before you commit to a replacement material.
Realistic scenarios where repair makes financial sense
Repair is the right move when the problem is isolated and the posts are solid. These are the situations where a targeted fix extends service life without overspending.
- Isolated picket or panel damage from a branch fall or vehicle impact. If surrounding sections are stable and posts are firm, replacing the affected boards or panels is straightforward.
- One or two post resets. A post that has shifted but isn’t rotted can sometimes be reset with a post mender bracket ($20–$40) rather than full extraction.
- Gate hinge or latch replacement. This is one of the most common DIY fence repairs. New hardware costs $15–$50 and restores full function.
- Surface rust on metal fencing. Sand to bare metal, apply a rust-inhibiting primer, and topcoat with exterior enamel. This stops progression and extends the section’s life by years.
- Minor vinyl cracks. A vinyl repair kit handles hairline cracks on panels that are otherwise structurally sound.
Bundling repairs into a single contractor visit matters more than most homeowners realize. Contractors typically charge service minimums of $50–$300, so three separate calls for three small problems costs significantly more than one visit that addresses all of them. If you have multiple minor issues, schedule them together.
A board swap on a wood fence adds roughly 2–3 years of service life to that section. A post replacement, done correctly with proper concrete depth, can add 10–15 years to the surrounding run.
When replacement is the right call and what your options are
Certain conditions make repair a poor investment regardless of cost. If you see any of the following, get a replacement estimate before spending money on repairs.
- Multiple posts are rotted at the ground line or rocking in their footings.
- More than 20–25% of the fence run shows structural damage.
- The fence has exceeded its expected lifespan. A wood fence at 15–20 years often has system-wide wear that turns spot repairs into a recurring expense.
- You’ve repaired the same sections more than once in two years.
- The fence no longer provides the privacy, security, or containment it was installed for.
When replacement is confirmed, material choice determines long-term cost and maintenance. Here’s how the main options compare:
| Material | Maintenance level | Lifespan | Relative installed cost | Security / privacy | Best for |
|---|---|---|---|---|---|
| Wood | High (stain every 2–3 yrs) | 15–20 yrs | Low–moderate | Good (privacy styles) | Budget-conscious, traditional look |
| Vinyl | Low | 25–30 yrs | Moderate | Good (privacy styles) | Low-maintenance priority |
| Aluminum / iron | Low–moderate | 30–50 yrs | Moderate–high | High (ornamental security) | Security, curb appeal, longevity |
| Chain-link | Low | 20–30 yrs | Low | Moderate | Utility, pets, perimeter |
| Composite | Very low | 25–30 yrs | Moderate–high | Good | Low maintenance, natural look |
If budget limits a full replacement, phased replacement is a practical path: replace the most visible or safety-critical sections first and schedule the remainder within 6–12 months. This avoids repeated service minimums and keeps costs manageable without leaving unsafe sections in place. For homeowners focused on security upgrades, property security fence options like iron or aluminum with access control integration are worth considering during the replacement planning stage.
How to get a professional estimate and what to ask
A written estimate protects you. It also gives you the numbers to run the 50% test accurately. Before you call a contractor, gather photos of every problem area, a rough linear-foot measurement of your fence, and a list of the specific sections with issues.
- Ask for a written, itemized scope. Vague estimates (“repair fence, $800”) don’t tell you what’s included.
- Confirm how many posts will be replaced and to what concrete depth. Shallow posts fail faster.
- Ask whether the quote includes haul-off of old materials.
- Confirm who pulls permits if replacement is involved.
- Ask about the warranty on materials and labor separately.
- Request the contractor’s license number and proof of general liability insurance.
- Get at least two written bids for any project over $500.
Use a contractor checklist to make sure nothing gets missed during the estimate conversation.
Red flags to watch for:
- A quote with no line-item breakdown.
- Time-and-materials pricing with no cap.
- A request for more than 30–50% of the total as an upfront cash deposit.
- No license or insurance documentation on request.
Typical timelines: minor repairs are often completed in one visit. Full fence replacement for an average residential lot (150–200 linear feet) typically takes 1–3 days of installation time, with lead times of 1–4 weeks depending on contractor availability and material supply.
Practical next steps: when to DIY and when to call a pro
DIY is reasonable for:
- Replacing individual boards or pickets on a wood fence.
- Swapping gate hinges or latches.
- Touching up surface rust on metal fencing.
- Applying stain or sealant to a wood fence.
Call a professional when:
- Any post needs extraction and replacement. Improper concrete depth leads to early failure.
- Damage affects more than one or two sections.
- You’re planning a full replacement and need permit handling.
- Safety is at risk (a leaning fence near a pool, children’s play area, or property line).
Modernfence has served homeowners and commercial clients across Western Arkansas and Eastern Oklahoma for more than 70 years. The team handles wood, chain link, iron, and vinyl fence installation, post replacement, permits, and written warranty scopes. For structural repairs or replacement planning, a professional estimate from Modernfence gives you the accurate numbers to make the right call.
Three immediate next steps:
- This week: Walk your fence line, run the push test on every post, and photograph all problem areas.
- Within 7 days: Contact a licensed contractor for a written estimate on both repair and replacement for the affected sections.
- Before signing: Confirm permit requirements with your local building office or HOA and verify the contractor’s license and insurance.
Key Takeaways
Repair when damage affects 20–25% or less of the fence and the repair cost is under 50% of replacement; replace when either threshold is crossed or the fence has exceeded its material lifespan.
| Point | Details |
|---|---|
| The 25% damage rule | If more than 20–25% of your fence shows structural damage, replacement is usually more cost-effective than patching. |
| The 50% cost rule | When repair estimates reach 50% of replacement cost, a new fence delivers better long-term value. |
| Post inspection first | Probe posts at the ground line with a screwdriver; post failure is the most common hidden cause of structural problems. |
| Bundle repairs | Schedule all minor repairs in one contractor visit to avoid repeated service minimums of $50–$300 per call. |
| Modernfence | Modernfence provides written estimates, post replacement, permits, and installation for homeowners in Western Arkansas and Eastern Oklahoma. |
A perspective on what the repair-or-replace decision really comes down to
Most homeowners focus on the visible damage: a broken board, a leaning section, a gate that won’t close. The real question is almost always underground. A fence with rotted posts is not a fence with a surface problem. It’s a fence that has lost its foundation, and no amount of new pickets changes that.
The 25% and 50% rules are useful shortcuts, but they work best when you’ve already done the post inspection. Skipping that step and going straight to a repair quote is how homeowners end up spending $600 on a fix that fails in 18 months because the post was already compromised at the base.
There’s also a tendency to underestimate the cost of doing nothing. An unstable fence near a pool, a side yard, or a property line isn’t just an aesthetic problem. It’s a liability. A fence that looks intact but rocks at every post is not protecting children, pets, or property the way it appears to from the street.
The homeowners who make the best decisions are the ones who get both numbers, run the math, and then decide. Not the ones who assume repair is always cheaper (it often isn’t, long-term) or that replacement is always the right answer (it frequently isn’t, for a newer fence with isolated damage). Get the inspection done first. The numbers will tell you what to do.
Modernfence: professional estimates for repair and replacement in Western Arkansas and Eastern Oklahoma
When your inspection points toward structural repairs or full replacement, having a licensed, experienced contractor assess the job in person makes a real difference. Modernfence brings more than 70 years of hands-on fencing experience to every project, with a service portfolio that covers wood, chain link, iron, and vinyl installation, post replacement, staining, and access control systems.
The difference between a repair that lasts and one that fails in a season usually comes down to post depth, concrete quality, and material selection. Modernfence provides written, itemized estimates so you know exactly what’s included before any work begins, handles permit coordination for replacement projects, and backs installations with clear warranty scopes. Whether you’re weighing a targeted repair or planning a full fence installation for your property, contact Modernfence for a free estimate and get the accurate numbers you need to make a confident decision.
Useful sources for deeper research
These are the primary sources used for the figures and rules in this article. Save them before your contractor conversation or insurance claim.
- FenceAdvisors Repair Guide: Covers the 50% cost rule, typical repair cost ranges, and post replacement costs. Use it to verify repair estimates and understand service minimum economics.
- Angi: Repairing vs. Replacing a Fence: Explains how homeowners insurance treats fence damage, covered perils, and depreciation. Review before filing a claim.
- Long Fence: Repair or Replace: Explains the 20–25% damage threshold and security/safety considerations. Useful for borderline cases.
- FenceCalc Replacement vs. Repair Guide: Per-linear-foot replacement cost ranges and phased replacement strategy. Use when calculating total project costs.
- Your local building or zoning office: Permit requirements vary by city and county. Check before committing to a replacement material or height. A residential fence permit guide can help you understand what to expect in your area.
- Your HOA governing documents: Material, height, and color restrictions can eliminate certain replacement options before you price them. Review your CC&Rs before requesting estimates.
Save photos from your inspection alongside these links. Contractors and insurers both move faster when you arrive with documentation already in hand.