
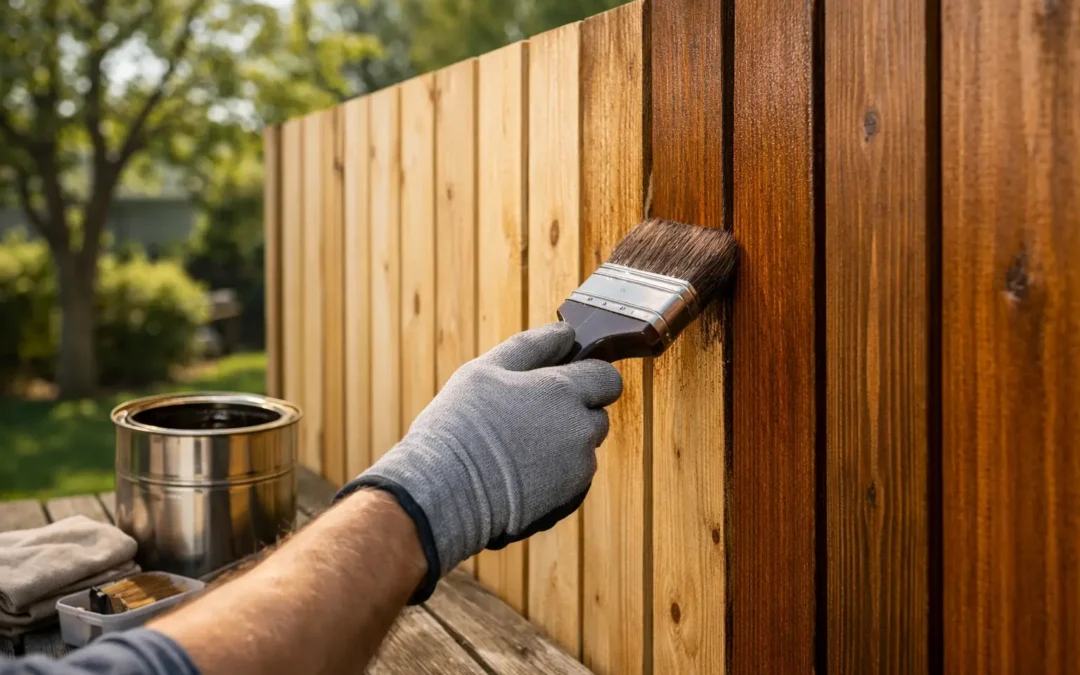
A wood fence can look tired long before it has reached the end of its service life. Sun fades the boards, rain raises the grain, and Arkansas humidity can encourage mildew in shaded areas. Knowing how to stain a fence correctly gives the wood a protective finish while restoring the clean, finished appearance that supports your property’s curb appeal.
Fence staining is not simply a matter of applying color. The result depends heavily on surface preparation, weather conditions, and using a stain suited to the age and condition of the wood. Taking the time to handle those details can help a fence stand up better to moisture, UV exposure, and normal seasonal movement.
Start With the Right Time and Weather
Dry, mild weather gives stain the best chance to penetrate and cure properly. Plan to stain when the forecast calls for at least 24 to 48 hours without rain, with temperatures generally between 50 and 90 degrees Fahrenheit. Avoid staining in direct, intense afternoon sun when possible. Heat can cause the product to dry too quickly, making it harder to maintain an even finish.
In Western Arkansas and Eastern Oklahoma, spring and fall often offer the most forgiving staining conditions. Summer projects can still work well, but it is wise to begin early in the day and work along the shaded side of the fence when practical. Do not stain damp wood after a recent rain, heavy dew, or pressure washing. Moisture trapped in the boards can prevent proper absorption and lead to premature peeling or blotchiness.
New wood needs time to dry before staining. Many new pressure-treated fences should weather for several weeks to a few months, depending on the lumber, season, and local conditions. A simple water test can help: sprinkle a few drops on the wood. If water beads on the surface, the boards likely need more drying time. If it soaks in readily, the fence may be ready for stain.
Choose a Stain That Fits Your Fence
Fence stain comes in several opacity levels, and the right choice depends on the look you want and the wood’s condition. Clear and transparent stains preserve the most visible grain, but offer less UV protection. Semi-transparent stains add color while still showing wood character, making them a popular choice for newer cedar and treated-pine fences.
Semi-solid and solid stains provide more coverage and can better hide uneven color, repairs, knots, and weathered areas. They are often a practical option for older fences that have lost their original uniform appearance. The trade-off is that heavier-pigmented stains obscure more of the natural grain and may require more careful maintenance over time.
Oil-based and water-based formulas can both perform well when applied correctly. Oil-based products typically penetrate deeply and may be a good fit for dry, weathered wood. Water-based stains generally dry faster, clean up with soap and water, and can offer strong color retention. Follow the manufacturer’s instructions for the specific product, especially regarding surface preparation, coverage rate, and recoat times.
Prepare the Fence Before You Stain
Preparation is where a durable finish begins. Stain will not correct dirt, mildew, loose fibers, or old failing coating. It can lock those problems into the surface.
Start by moving patio furniture, planters, grills, and decorations away from the fence line. Cover nearby landscaping with breathable drop cloths or lightly mist plants before and after staining to reduce the chance of overspray settling on leaves. Trim back vines, tall grass, and branches that press against the boards. A fence needs airflow to dry properly after the work is complete.
Then inspect the fence closely. Replace damaged boards, reset loose fasteners, and repair gates before staining. Stain can improve appearance and protection, but it cannot solve rot, warping, unstable posts, or a gate that no longer latches correctly.
Clean the wood using a fence cleaner or an appropriate mild cleaning solution. For mildew or algae, use a product designed for exterior wood and follow the label carefully. A pressure washer can be useful, but too much pressure can gouge soft wood and leave a fuzzy surface. Use a wide spray pattern and keep the wand moving at a safe distance rather than concentrating water in one spot.
After cleaning, allow the fence to dry completely. If the surface feels rough once it is dry, lightly sand the affected areas and remove all dust before applying stain. For a fence with old paint or a solid coating that is peeling, more extensive stripping and sanding may be necessary. In that situation, professional assessment can save time and prevent an uneven finish.
Tools You Will Need
For most residential fence projects, gather the following before you begin:
- Exterior wood stain and a compatible stir stick
- Quality brush for edges, posts, and tight spaces
- Roller with an exterior-grade nap or a stain pad
- Pump sprayer or airless sprayer for large fence runs, if you are comfortable using one
- Drop cloths, gloves, safety glasses, and painter’s tape where needed
A sprayer can make quick work of broad sections, but it should not be treated as a shortcut around careful application. Wind can carry stain onto siding, windows, vehicles, and neighboring property. If you spray, protect surrounding surfaces and back-brush or back-roll the stain immediately so it penetrates evenly rather than sitting on the surface.
How to Stain a Fence Evenly
Stir the stain thoroughly before starting and periodically during the project. Pigments settle in the container, and inconsistent mixing can leave visible color variation from one section to the next. Avoid shaking the can, which can create bubbles.
Work on one small section at a time, generally two to three boards wide from top to bottom. Keeping a wet edge prevents lap marks. Start with the top rail, caps, and hard-to-reach edges, then coat the vertical boards and finish with lower rails. Apply enough stain to wet the wood evenly, but do not flood the surface or allow excess product to pool around knots, board overlaps, or horizontal rails.
Brush stain into end grain, cracks, fastener holes, and the lower edges of boards. These areas are especially vulnerable because they absorb water readily. On a board-on-board or shadowbox fence, make sure you coat the inside faces and edges that will remain exposed after the project is complete.
Most penetrating stains look best with one even coat. Applying a second coat before the first has absorbed or dried as directed can leave a tacky, uneven surface. Follow the label rather than assuming more product means better protection. Coverage varies with wood species, board age, and surface porosity.
Avoid the Mistakes That Shorten Stain Life
The most common staining failures start before the brush ever touches the fence. Applying stain over damp wood, skipping cleaning, or choosing a product without considering the existing finish can all reduce durability. Another frequent issue is overapplication. A thick layer may look rich at first, but stain that cannot penetrate is more likely to remain sticky, dry unevenly, or fail early.
Do not forget the less visible side of the fence. If both sides are accessible, staining both sides helps provide more balanced moisture protection and a consistent appearance for everyone who sees the fence. Property-line fences may require a conversation with neighbors before entering their yard or applying stain near their landscaping.
Plan for maintenance, too. A horizontal rail and the tops of posts receive more weather exposure than protected vertical areas. Check the fence annually for fading, water absorption, mildew, or damaged boards. Addressing small issues early is usually far easier than waiting until the entire fence requires extensive restoration.
When Professional Fence Staining Makes Sense
A do-it-yourself project can be a good choice for a small, accessible fence in sound condition. Larger properties, tall privacy fences, heavily weathered wood, complex gates, steep terrain, and nearby structures can make the job more demanding. Professional staining is also useful when cleaning, repairs, or old-coating removal must be completed before the new finish can perform as intended.
Modern Fence Company helps property owners protect and refresh wood fencing with the same attention to preparation and workmanship that goes into installation. For homeowners and property managers in Sebastian, Crawford, Franklin, and Sequoyah counties, a professional estimate can clarify the right stain approach for the fence you have, not just the appearance you want.
A well-stained fence should still look like wood, only better protected against the seasons ahead. Give the preparation and drying time the respect they deserve, and the finished color will be something you can enjoy every time you come home.